Amsterdam is basically a city built for photo walks.
You get:
- canal light that changes every ten minutes
- reflections that make even a puddle feel poetic
- narrow streets where “leading lines” happen by accident
- and parks where you can take a breath without performing “busy city person”
If you’re searching for photography walks Amsterdam, you probably want more than “just wander around.”
You want:
- a friendly route that doesn’t turn into a 20k march
- a beginner-friendly vibe (no gear snob energy)
- and a way to meet people that doesn’t involve shouting over music
This guide covers beginner-friendly photo-walk formats, easy Amsterdam routes, simple prompts you can steal, and how to make the hobby social.
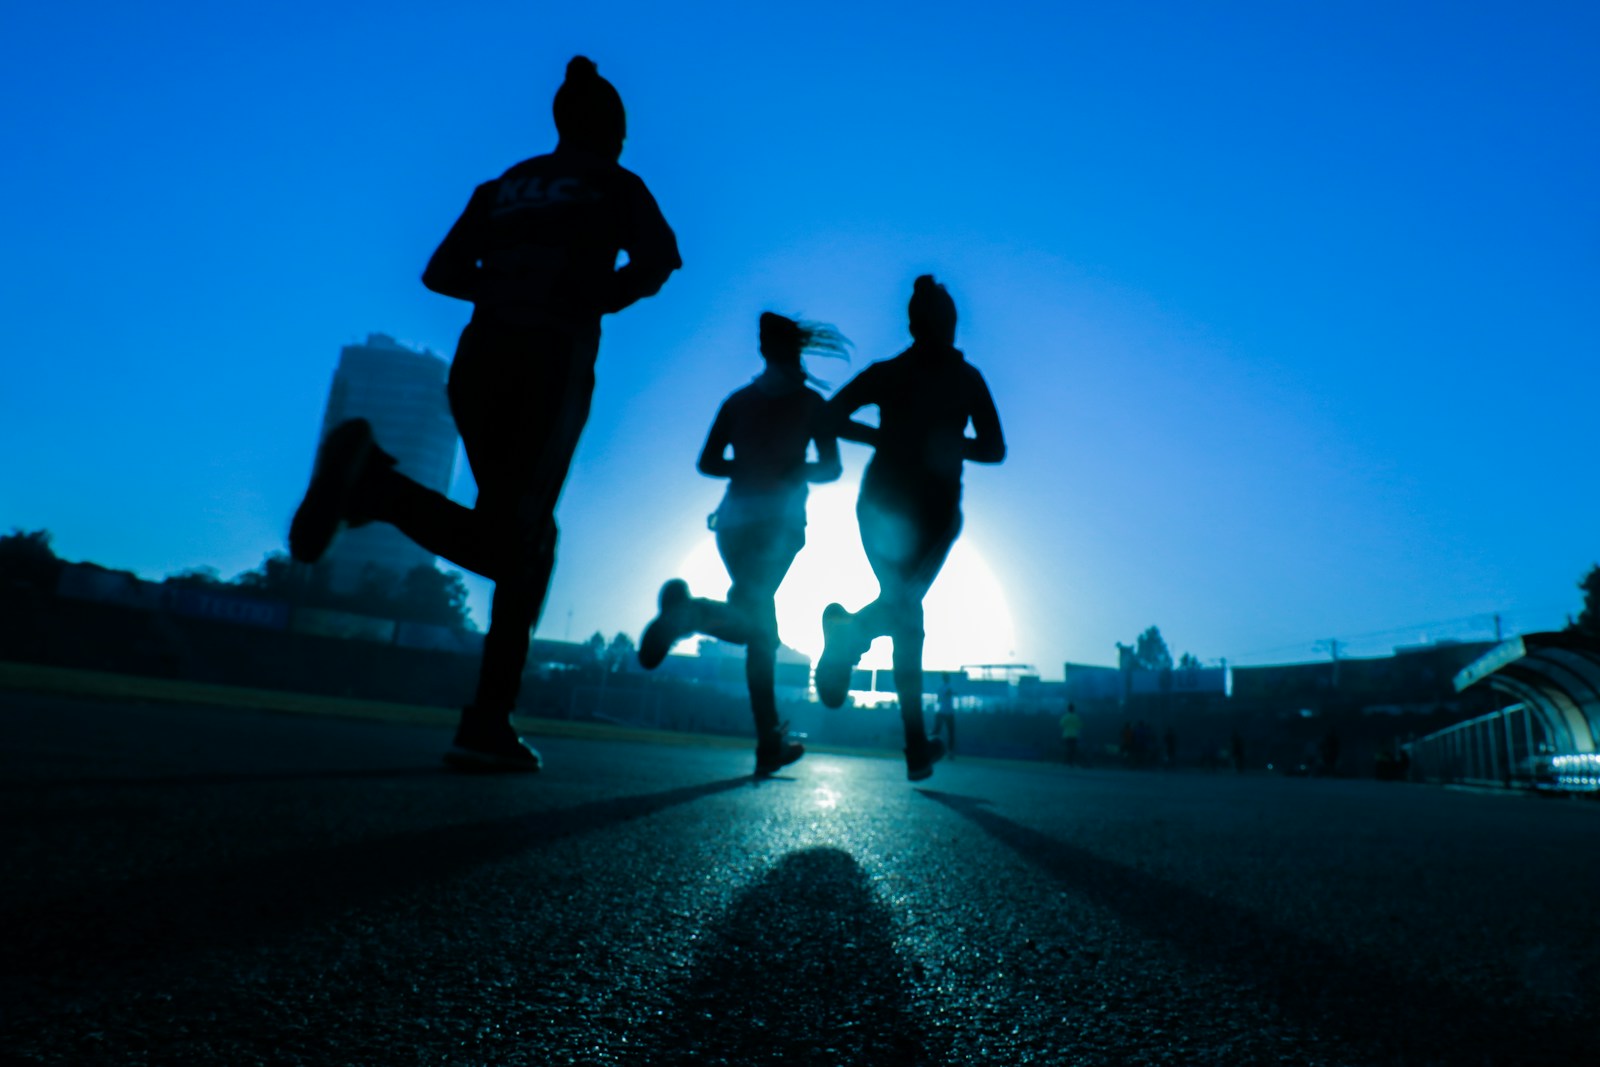
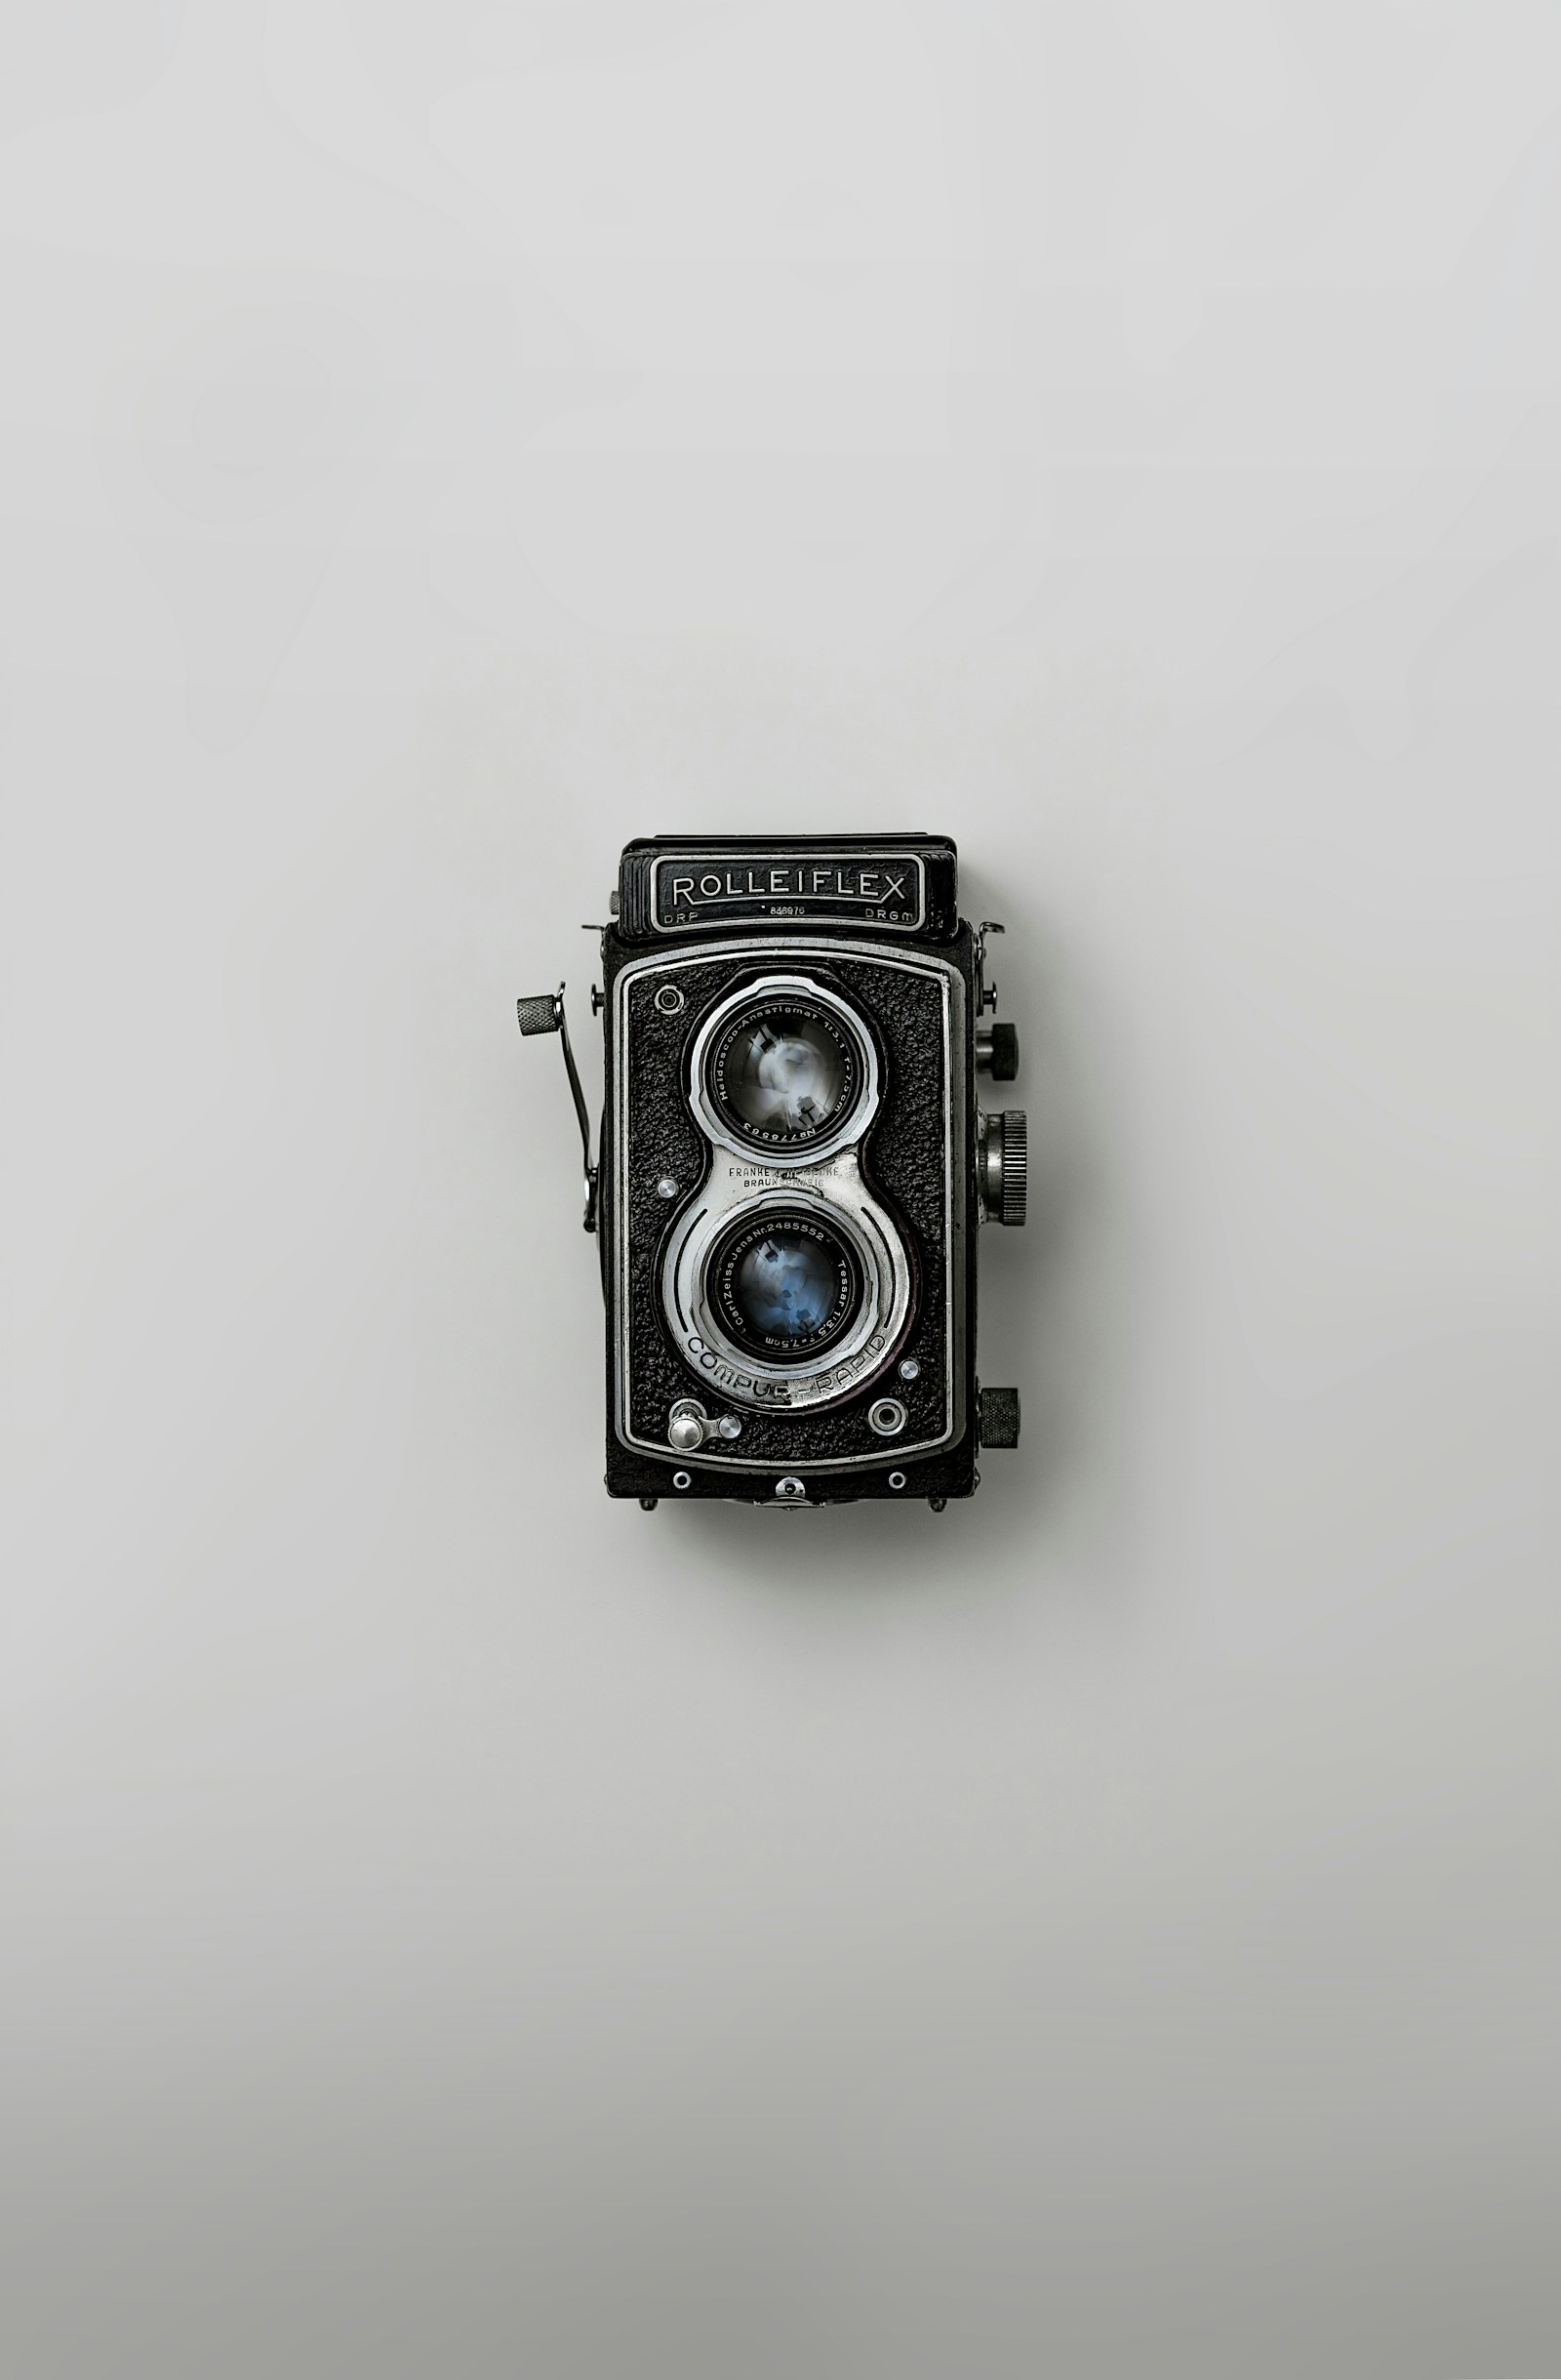
Quick answer: the best photo walk format for beginners
If you’re new (or rusty), the easiest photo walk is:
- a small group
- a clear start point
- a simple theme
- a defined end point (coffee, park, ferry, museum area)
The theme matters because it gives you something to look for.
Instead of “take good photos,” your brain gets a small assignment:
- reflections
- doorways
- bikes
- one color
- hands
- shapes
That tiny structure is what makes photo walks feel relaxed instead of overwhelming.
What “photography walk” actually means (in real life)
A photography walk can be:
- a casual group stroll where people take photos and chat
- a “street photography” meet where you focus on people + city moments
- a route-based walk (canals → bridges → park)
- a prompt walk (“only shoot shadows”)
Most photo walks are not technical classes.
They’re more like: “Let’s notice the city together. And maybe take a photo that doesn’t look like a rushed screenshot.”
Beginner-friendly Amsterdam photo walk routes (that don’t require a compass)
1) Canal loop: Jordaan → 9 Streets → De Pijp (the “classic but still good”)
Why it works:
- lots of texture: bridges, bikes, windows, water
- plenty of cafés for a calm end point
- good for both phones and cameras
Simple theme ideas for this route:
- reflections (water, windows, shiny rain streets)
- doors + entryways
- “frames within frames” (bridges, arches, windows)
2) Museum quarter + Vondelpark (the “light + breathing space” route)
This route is beginner-friendly because parks give you time to slow down.
Good for:
- portraits of friends (with consent)
- nature details
- “quiet street photography” (people walking, reading, cycling)
If you’re nervous about photographing strangers, start here. It’s softer.
3) Noord ferry + NDSM (the “industrial textures” route)
Amsterdam Noord is fun for:
- bold lines
- street art
- wider spaces
- moody light when the weather is dramatic (so: often)
Also, the ferry is a built-in moment of “we’re all doing something together.”
That helps the group feel like a group.
4) Early morning canals (the “no-crowd cheat code”)
If you can handle an early start, morning Amsterdam is calmer.
You’ll get:
- cleaner compositions
- less weaving through crowds
- softer light
And the people who show up early for a photo walk are usually the kind of people who genuinely want the hobby — not just “content.”
What to bring (so you’re not the person borrowing everything)
Keep it simple.
- a charged phone or camera
- comfortable shoes (Amsterdam is a walking city, even when you pretend it isn’t)
- a light layer (wind + canals is a real combo)
- water
Optional but useful:
- a small microfiber cloth (for rainy-lens season)
- a small power bank
You don’t need a huge bag.
Photo walks feel nicer when you can move easily.
Camera tips that make your photos better immediately (no jargon)
1) Pick one “job” per walk
Instead of trying to shoot everything, choose a job:
- “I’m practicing composition today.”
- “I’m practicing light today.”
- “I’m practicing people today.”
Your photos get better faster when you practice one thing at a time.
2) Use the “one step left, one step right” rule
Before you press the shutter, move:
- one step left
- one step right
- one step forward
- one step back
Amsterdam compositions change dramatically with tiny movement.
A better angle is usually… one step away.
3) Shoot a sequence, not a single moment
Take 5 photos, not 1.
- one wide
- one medium
- one close
- one detail
This is especially helpful with canals and street scenes.
How to meet people on a photo walk (without the weird networking vibe)
Photography is social in a sneaky way.
You can connect without constant talking because you always have something to point at.
Use simple questions:
- “What are you shooting today?”
- “Are you more phone or camera?”
- “What do you usually like photographing?”
- “Want to swap a quick portrait? I can send it to you after.”
If you offer a portrait, keep it respectful:
- ask clearly
- show the photo after
- offer to delete it if they don’t like it
That kind of calm consent makes people trust you.
Street photography etiquette (so you stay respectful)
Amsterdam is busy and people are living real lives. A few simple rules keep photo walks respectful:
- If someone is clearly the subject, ask first.
- Avoid photographing children closely without explicit consent from a parent/guardian.
- If someone looks uncomfortable, lower the camera and move on.
- Don’t block bike lanes or narrow sidewalks while you “just get one more angle.”
You’ll make better photos when you stay calm and considerate anyway.
Best times for an Amsterdam photo walk (and why “random afternoon” can be hard)
If you want the easiest experience:
- Early morning: fewer crowds, softer light, cleaner compositions.
- Golden hour: reflections and window light get dramatic fast.
- Overcast days: consistent light that makes details easier.
Midday sun can be harsh on bright canal streets. If midday is all you’ve got, lean into shade, doorways, and close-up details.
A beginner-friendly prompt list you can reuse forever
Pick one small mission:
- reflections (canals, windows, puddles)
- bicycles (yes, again — this is Amsterdam)
- “three textures” (brick, metal, water)
- one color (only shoot blue, only shoot red)
- hands (coffee cups, handlebars, sketchbooks)
- frames (bridges, arches, windows)
Your prompt isn’t a rule. It’s a permission slip to simplify.
A few useful answers
Do I need to ask permission to photograph people?
If someone is clearly the subject, asking first is the respectful move. If you’re photographing general city scenes where individuals aren’t the focus, keep distance, stay considerate, and move on if anyone seems uncomfortable.
Phone or camera?
Both work. A phone is often easier for beginners because it’s light, quick, and less intimidating — which helps you shoot more, and improve faster.
How to find photography meetups in Amsterdam
Places to look:
- Meetup groups (search “photo walk Amsterdam” or “street photography Amsterdam”)
- local photography communities and museum notice boards
- community workshops at cultural spaces
When you’re scanning event descriptions, look for:
- clear start time + meeting point
- “beginner friendly” language
- a route or theme
- a host name
If it’s vague, it can feel harder to enter.
If you want to host your own small Amsterdam photo walk
A small group is often better than a huge one.
A beginner-friendly host plan:
1) choose a 60–90 minute route 2) choose a theme (“reflections” is the Amsterdam classic) 3) pick a clear meeting point (bridge, café, museum entrance) 4) set a relaxed pace 5) choose an end point (coffee, park bench, ferry)
Your goal as host is not perfection.
Your goal is to make the first ten minutes obvious.
Keep exploring Amsterdam
A practical confidence check
Before choosing a hobby group, look for the detail that would make you comfortable enough to return: the exact meeting point, the expected level, the likely group size, and whether the plan still works if you arrive alone. In Amsterdam, that practical layer matters because a hobby is not just an idea; it has to fit transport, timing, weather, energy, and the small courage it takes to walk in for the first time. A clear plan gives your future self fewer excuses and a better evening.
Start where the plan feels real
A good first step for photography walks in Amsterdam is to pick a session where the materials, level, and outcome are clear. In Amsterdam, creative groups become less intimidating when the goal is to try something honestly, not to produce a masterpiece while pretending your hands are not nervous.
The detail that keeps people coming back
For photography walks in Amsterdam, the first useful clue is usually practical rather than glamorous. In Amsterdam, pay attention to the meeting point, the time of day, the language of the group, and whether the activity leaves room for beginners. A good first outing should make you feel a little braver, not like you accidentally enrolled in an exam with better lighting.
One human way to start
A good start in Amsterdam can be very small: arrive, learn one name, follow one route, make one thing, ask one question, or stay until the end without mentally drafting an escape plan. For photography walks in Amsterdam, that kind of modest win is often the beginning of real confidence.
Final thought
The best Amsterdam photo walk is the one you can imagine yourself repeating next week. Choose a route with clear light, an easy meeting point, and enough beginner energy that you can pay attention to the city instead of your nerves.
Join the early hobby matching waitlist in your city
Join the early hobby matching waitlist in your city. Choose your city and the hobbies you want to try so Kumele can see where local demand is strongest first.
Start with the hobby groups near me guide, the hobby friends guide, or the main hobby guide.
Plan your next hobby step
Keep going with Kumele’s core guides: hobby ideas, hobby groups near me, hobby friends, and the city homepage.